How to Remove a Background Color From an Image
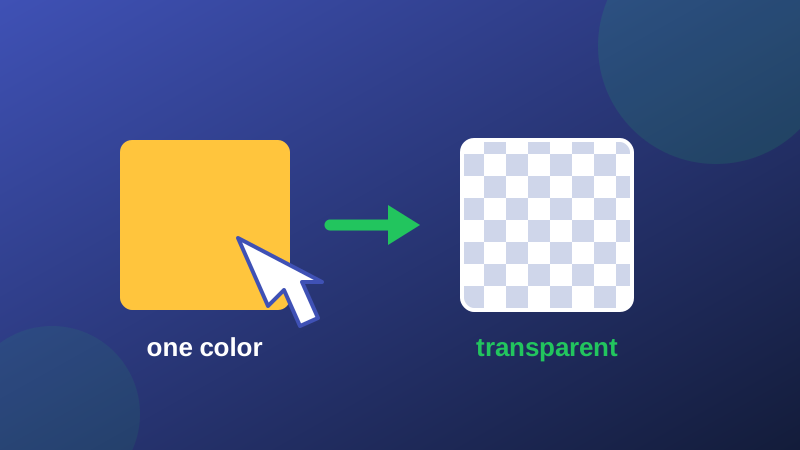
Two people can use the same background remover and get opposite results - one a clean cut-out, the other a subject full of holes - and the difference is never luck. It is three small decisions: which pixel you click, how wide you set the tolerance, and whether your source file was clean enough to key in the first place. This guide is the mechanics underneath our Remove Background Color tool: how the decision is made, pixel by pixel, and how to troubleshoot each way it goes wrong.
How the key decides
When you click a color, the tool measures every pixel's distance from it in color space. Pixels close enough - within the tolerance you set - become transparent; the rest stay. There is no understanding of "background" involved: a pixel is removed because it resembles the picked color, wherever in the image it happens to sit. Holding that simple model in your head explains every result the tool will ever give you, including the failures below.
Picking the right pixel
Click a representative patch of background: not the darkest corner, not a spot next to the subject where edge blending lives. Real backgrounds are unevenly lit, so the color near the middle of a clear area is the honest average. If one side of the background is visibly lighter - a lamp on one side, a window on the other - no single click describes both, and your tolerance will have to stretch to cover the difference. Flattening the light, or clicking the mid-tone and accepting a wider tolerance, are the two honest responses.
Tolerance: the whole craft
- Too low: patches and speckles of background survive, especially in corners and around textured areas.
- Too high: the removal reaches into the subject - first its soft edges, then any part of it that shares the background's color family.
- The working method: start at the bottom and raise the slider in small steps, watching the subject's edges, not the background. Stop the moment the background is fully gone; every step beyond that is taken out of your subject.
When the subject contains the background color
This is the failure no setting fixes: keying removes the color everywhere, so a blue logo on a blue background loses its middle. Check the damage honestly by placing the result over a contrasting color with Add Background Color. If the subject is wounded, the real remedies are a different source image - the same subject on a color it does not contain - or a manual mask in an editor. Knowing when the method cannot apply is part of using it well.
Messy sources key messily
A JPG background looks solid and is not: compression scatters dozens of near-colors around every edge and flat area, so the key must stretch to catch them all - and stretching is what eats subjects. A PNG, a clean scan, or the original export keys with a narrow, safe tolerance. If you only have a JPG, converting it with JPG to PNG first does not restore cleanliness, but it does stop further loss while you work. The same principle powers green-screen work: chroma keying is this exact technique, succeeding because studios light the screen to be as close to one true color as physics allows.
Click the honest middle of the background, walk the tolerance up slowly, and judge the result on the color it will actually sit on. Those three habits are the difference between a key that looks professional and one that looks like an accident.
Frequently asked questions
Why did parts of my subject disappear too?
Keying cannot tell subject from background - it removes every pixel close to the picked color, wherever it sits. If your subject wears or contains that color, those areas go transparent as well. The honest fixes are a different source photo, or a background color your subject does not contain.
Why are there leftover patches of the background?
The background is not one color but several near it - shading, a vignette, or JPEG noise around edges. Raise the tolerance in small steps and click a mid-tone area of the background when you pick the color. A clean PNG or scan keys far more evenly than a compressed JPG.
The background is a gradient. What can I do?
A gradient is the hardest case for keying: no single pick covers it, and a tolerance wide enough to catch both ends usually eats the subject. Even the background out first if you can reshoot; otherwise expect a partial result and judge whether the edges matter at the size the image will be used.